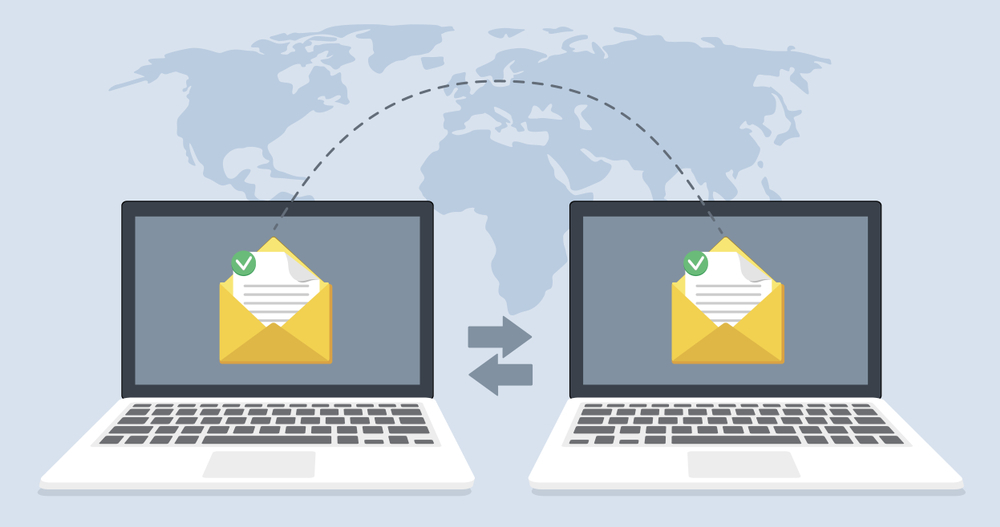
Email Migration: A Step-by-Step Guide
Email migration is a critical task for businesses looking to upgrade their communication systems or switch to a new email provider. Ensuring a smooth transition requires careful planning and execution. This guide walks you through each step of the email migration process to help you achieve a seamless switch.
Why Email Migration?
Before diving into the steps, it’s important to understand why email migration is necessary:
- Enhanced Features: Modern email platforms offer advanced features that improve productivity and collaboration.
- Improved Security: Up-to-date security protocols protect sensitive information from cyber threats.
- Cost Efficiency: Cloud-based email services reduce the need for on-premises infrastructure and maintenance.
Pre-Migration Steps
1. Assessment and Planning
Start by assessing your current email system and identifying your migration needs. Consider factors like:
- The number of email accounts
- The volume of data
- Specific features required in the new system
Action Items:
- Conduct a detailed inventory of your current email setup.
- Define the scope and goals of the migration.
2. Choose the Right Migration Tool
Select a migration tool that fits your needs. Popular options include:
- BitTitan MigrationWiz: User-friendly and versatile.
- Microsoft Data Migration Service: Ideal for migrating to Microsoft 365.
- Google Workspace Migration Tool: Best for transitioning to Google Workspace.
Action Items:
- Evaluate and choose a migration tool.
- Review the tool’s documentation and prepare for its use.
3. Backup Data
Backup all email data to prevent loss during migration. This provides a safety net in case any issues arise.
Action Items:
- Perform a full backup of your current email system.
- Store backups securely.
4. Pilot Testing
Conduct a pilot migration with a small group of users to identify and resolve potential issues.
Action Items:
- Select a test group and run a pilot migration.
- Gather feedback and make necessary adjustments.

Migration Steps
5. Communicate with Stakeholders
Inform all stakeholders about the migration schedule, potential downtime, and changes they can expect.
Action Items:
- Send out communication detailing the migration plan.
- Address any concerns or questions from users.
6. Execute Migration
Begin the migration process using the selected tool. Monitor the process closely to ensure data integrity.
Action Items:
- Follow the migration tool’s instructions.
- Monitor progress and resolve any issues promptly.
7. Migrate in Phases
If you have a large volume of data or many accounts, consider migrating in phases to reduce the risk of disruptions.
Action Items:
- Plan and execute phased migrations.
- Verify data integrity at each phase.
Post-Migration Steps
8. Verify Data Integrity
After migration, verify that all data has been transferred accurately. Check for missing emails, calendar events, and contacts.
Action Items:
- Perform data integrity checks.
- Resolve any discrepancies.
9. Provide Training
Offer training sessions to help users get acquainted with the new email system.
Action Items:
- Schedule and conduct training sessions.
- Provide resources and support for users.
10. Gather Feedback
Collect feedback from users to understand their experience and address any remaining issues.
Action Items:
- Send out surveys or hold feedback sessions.
- Implement improvements based on user input.
Additional Resources
For more detailed guidance on email migration, explore these resources:
Conclusion
Email migration can significantly enhance your business’s communication capabilities, security, and cost efficiency. By following this step-by-step guide, you can ensure a smooth transition to your new email system. For personalized assistance with IT services and email migration, visit NABCO IT.


